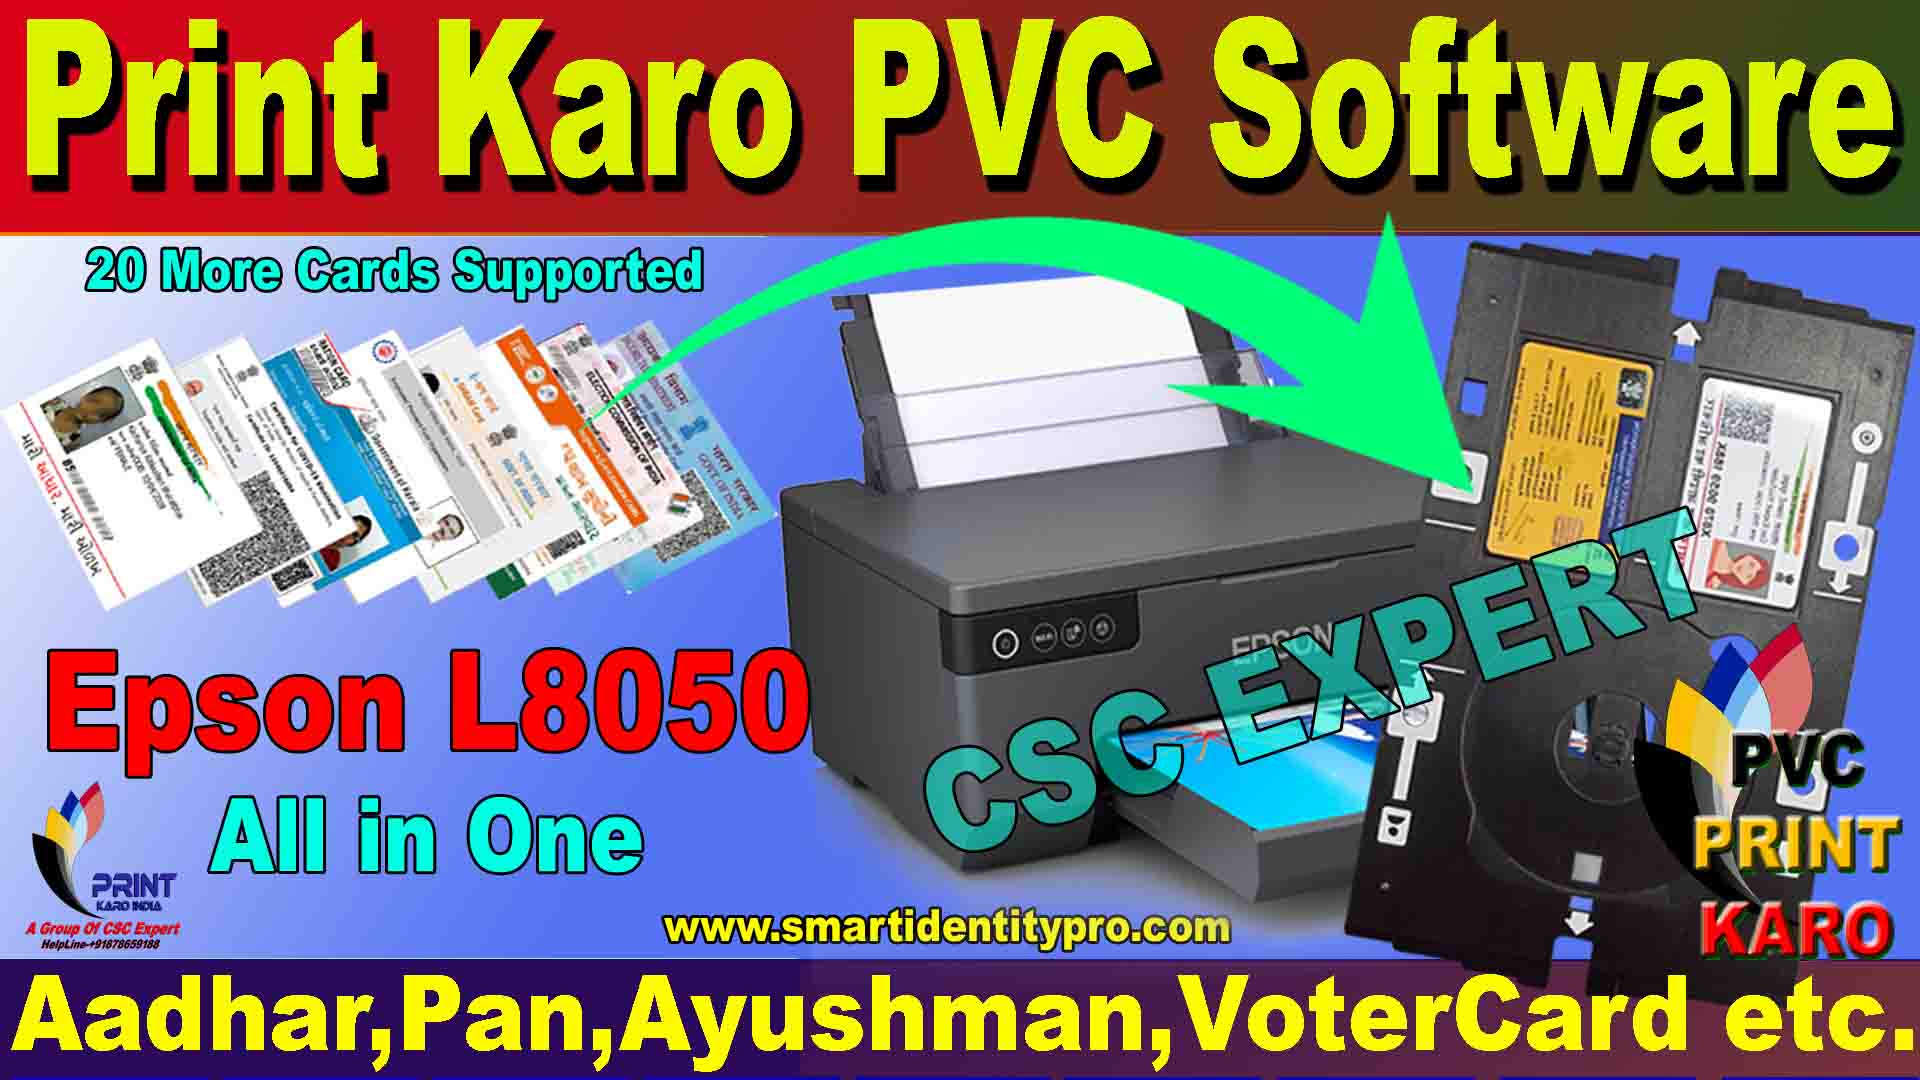


Print Karo PVC Software For All Printer
(Latest New Updated)
India No.-01 PVC Card Printing Software
This Software Goes to One Year Validity
👉 Windows•7/8.1/10/11(x64/x32)
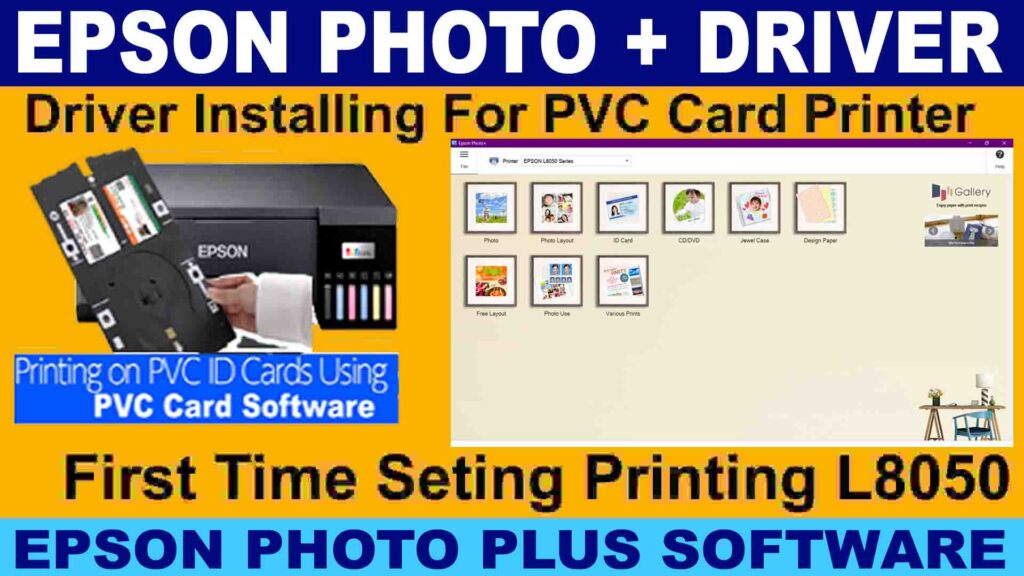
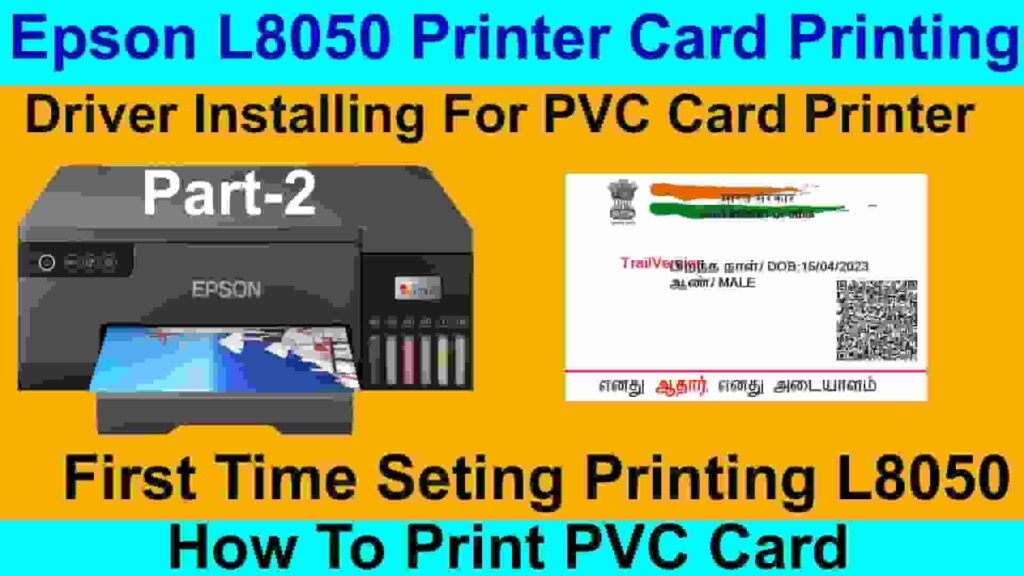
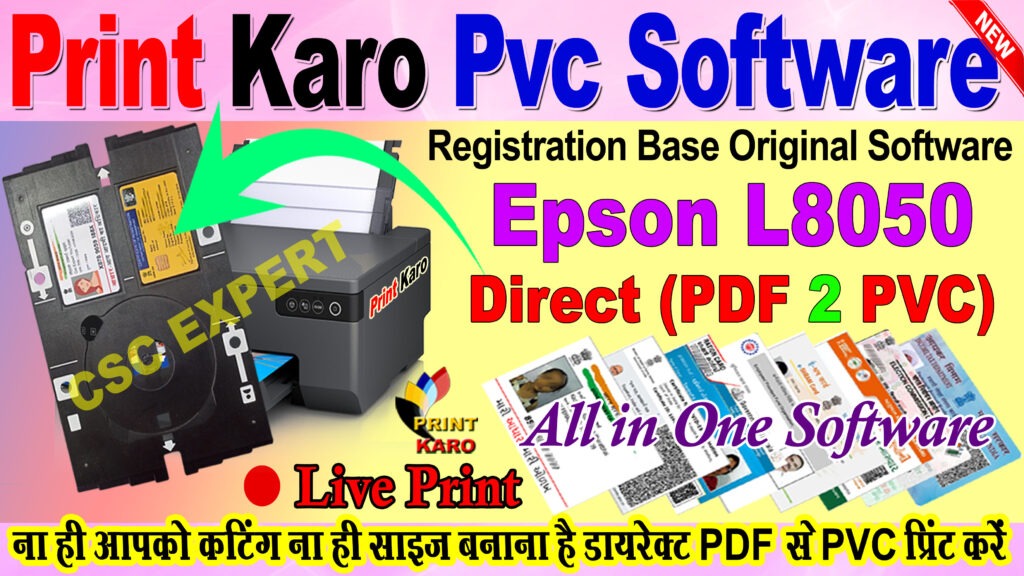
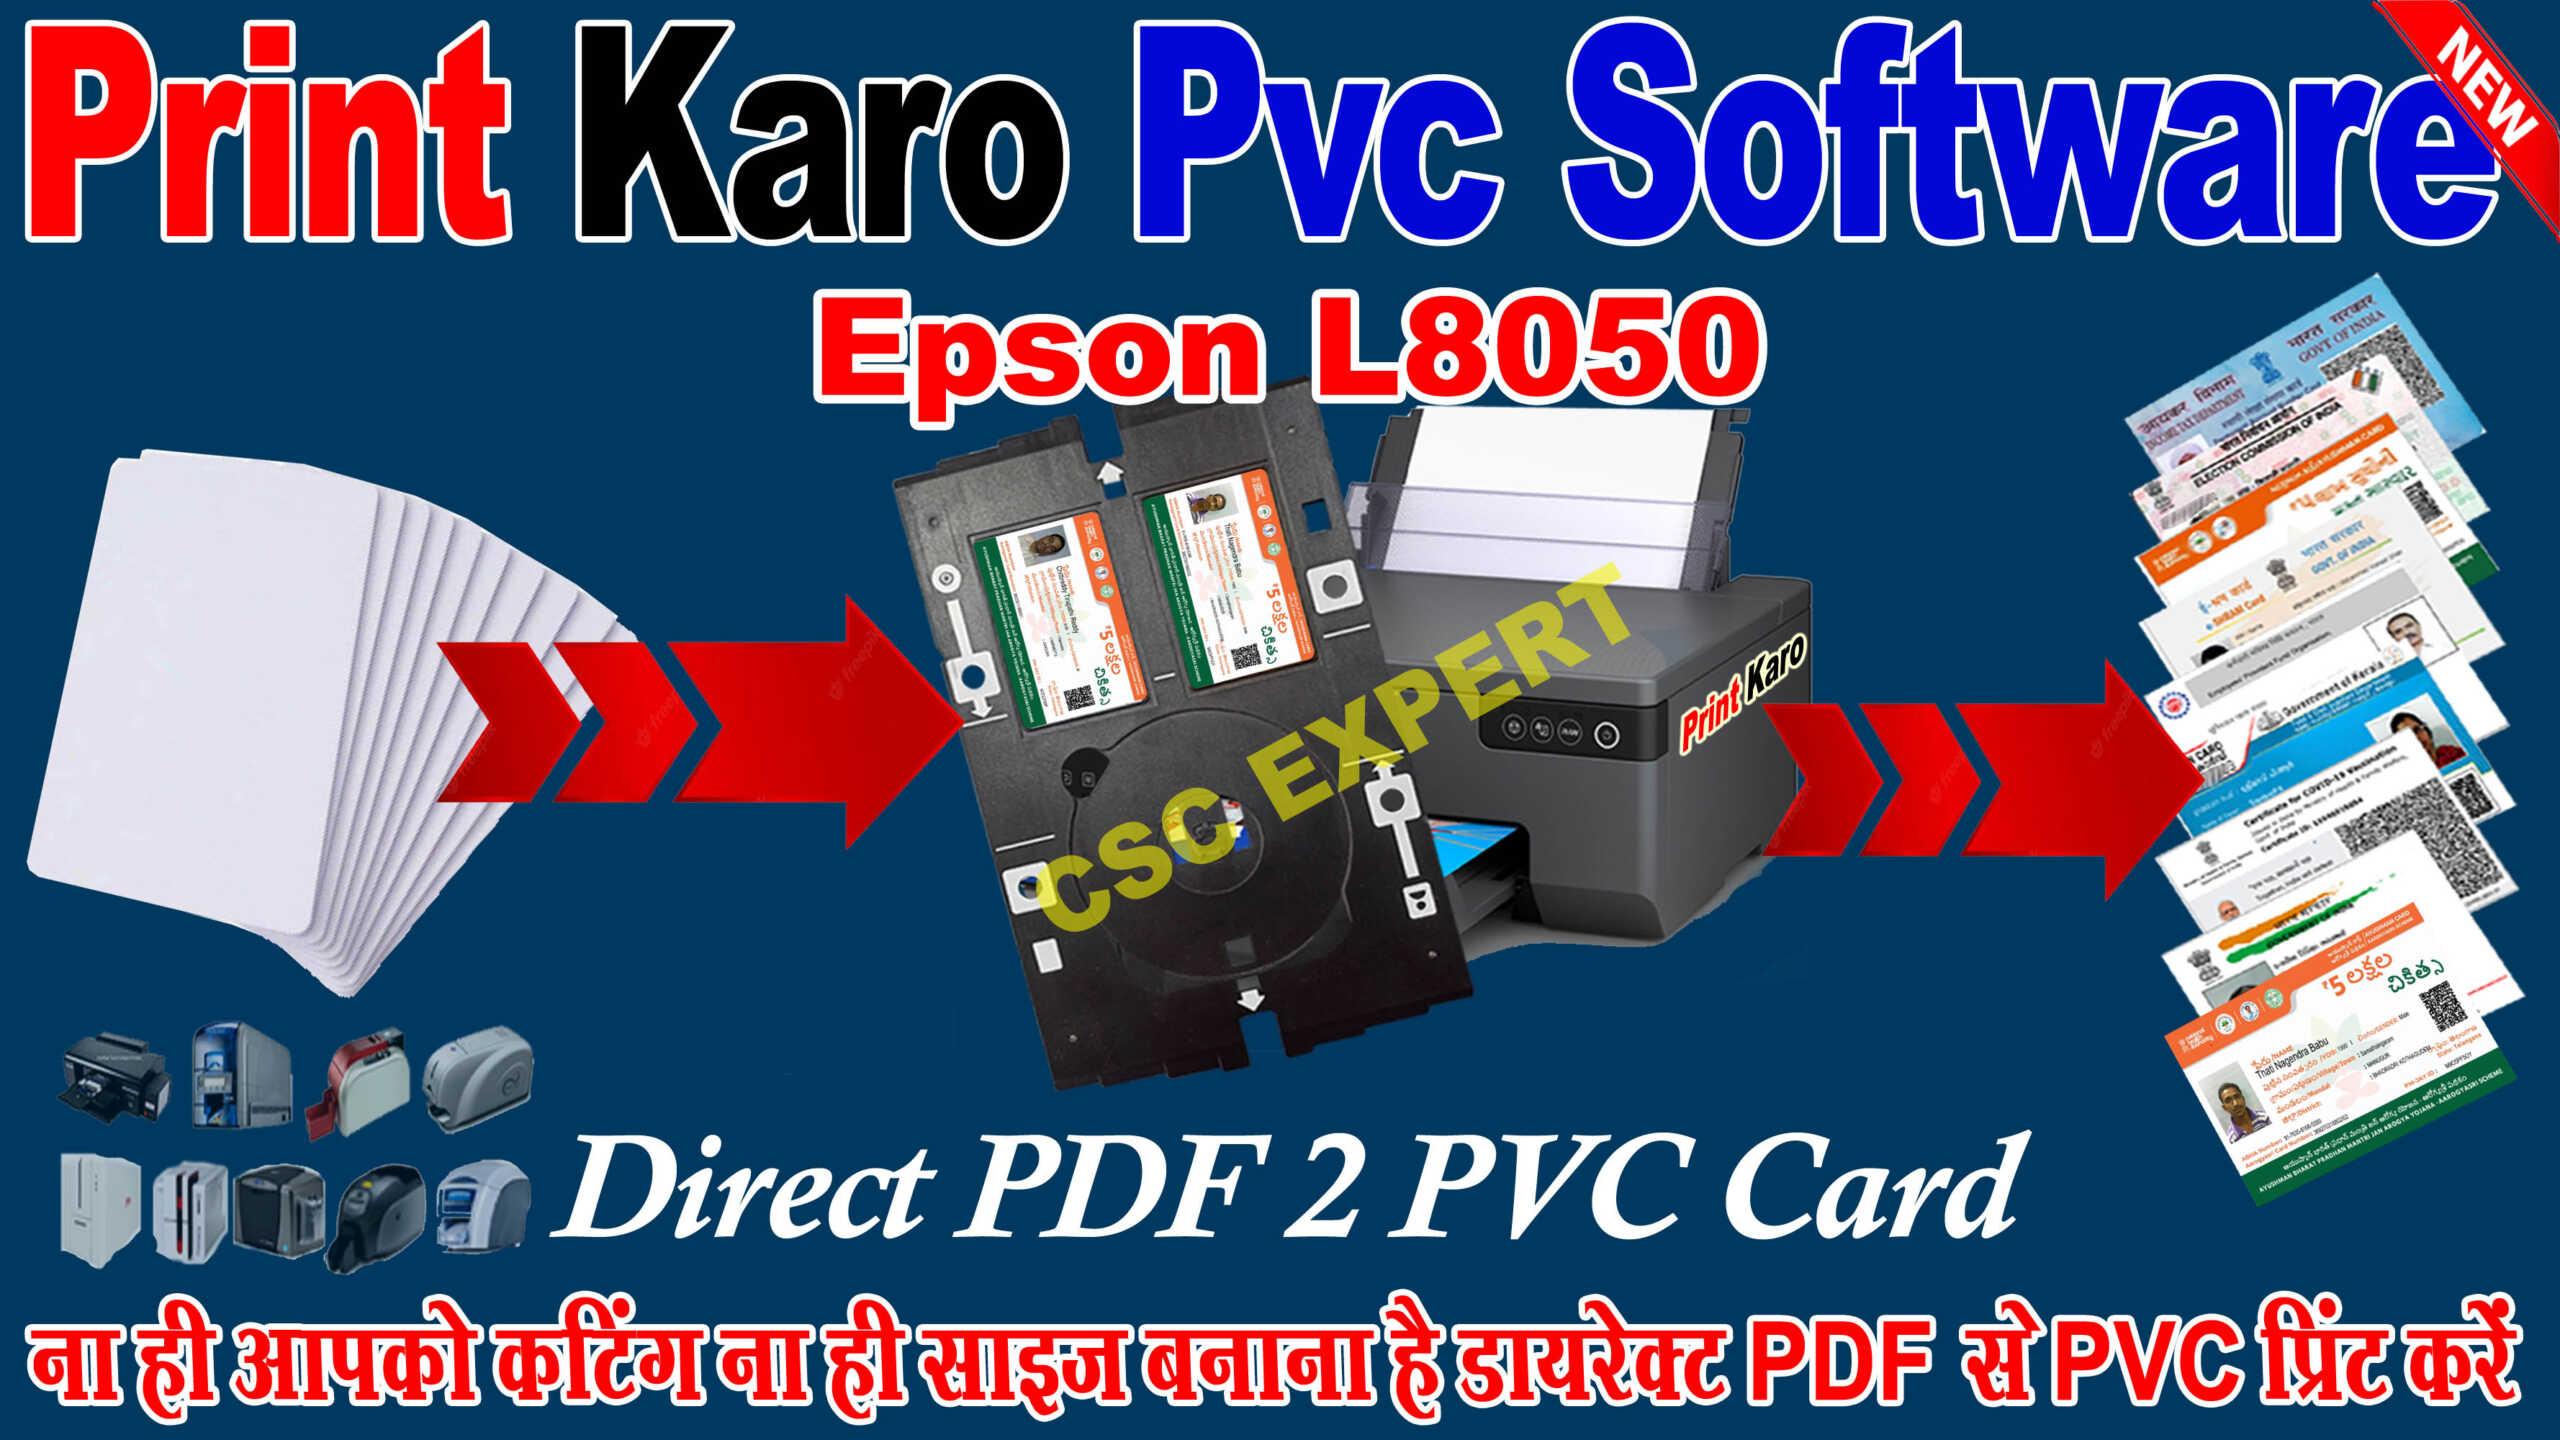
 Print karo Pvc Software for L8050
Supporting Documents:-
AadharCard
Pan Card
Ayushman Card
E-Shram Card
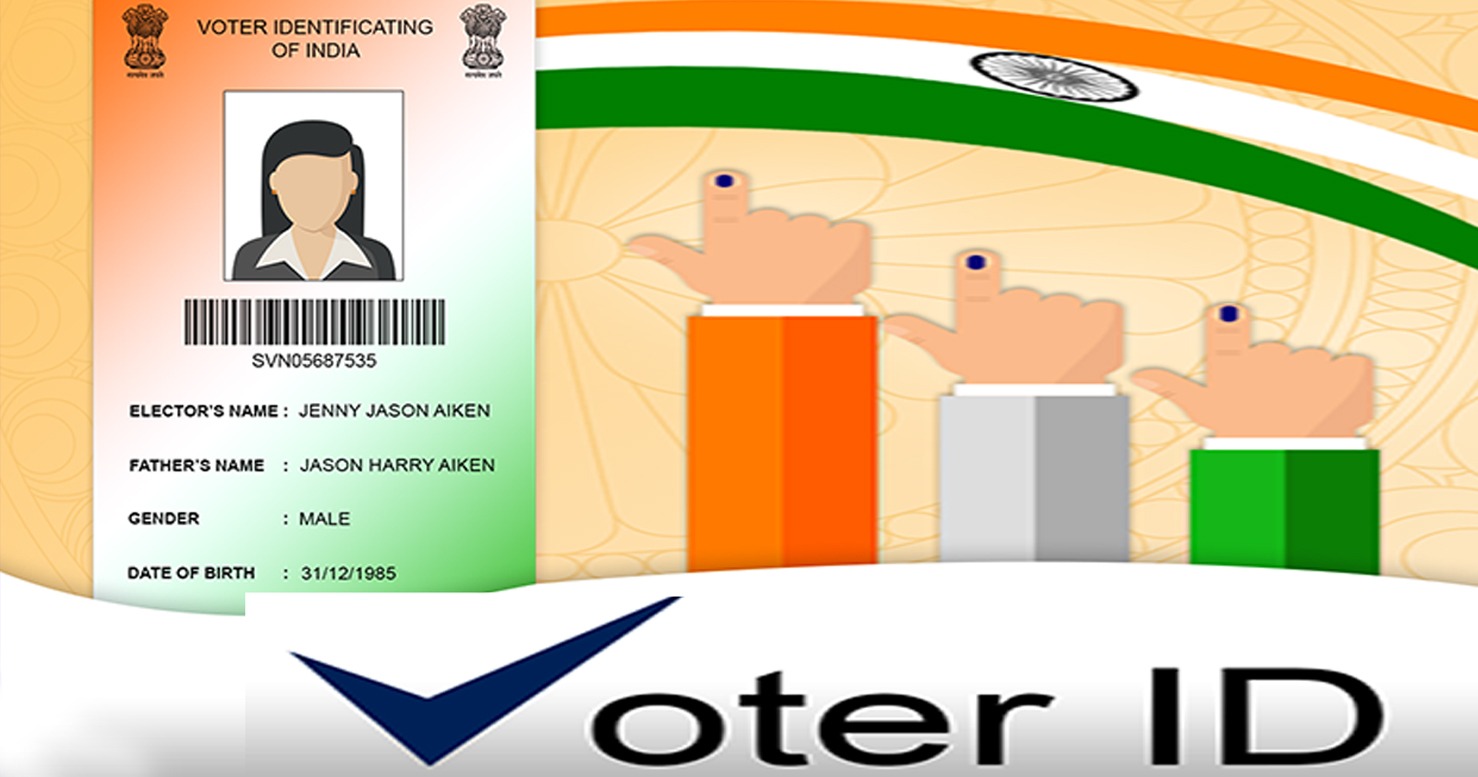
VoterCard
PMSYM Card
PMKYM Card
JanAadhar Card
UAN Card
Bhamash Card
Senior Citizen Card
West Bengal Ration card
Keral Ration Card
Universal Pass
Any ID Card(Student/Medical/Staff/College etc.)
Scan & Print
UMID Card
Watch Live Printing Video With Full Explain
Printer Supporting:-
PVC Thermal All Printer
(Evolis/Zebra/magicCard/DataCard/IDP Solid/Smart/HITI/DTI/Seory etc)
Epson New Tray Printer L8050
Epson Old Tray Printer L800/L805/L810/L850/L860 etc.
InkJet All Printer A4 sheet & 4×6 Sheet
PDF Genrate & Save PVC Card Size
Drangon A4 Sheet & 4×6 Sheet Supporting( Mirror Printing)
Password – Software_Guruji Password – Software_Guruji

Installation Product Key:- PRINT-0IDX-SOFT-0680-GURU-ITWI-KARO
Pay Here Buy Now Button If you Want Lifetime Validity
If You Want Lifetime Validity Than Pay Here Rs.3499 For Lifetime Validity Direct Buy Don’t Pay here Like as Buy Now Button